
Hello there, adventurers! Ever come back from a fantastic trip only to find your trusty cooler in a less-than-trusty state? Let’s learn How to clean a cooler.
Well, you’ve landed on the right page! We’re here to guide you through the simple steps on how to clean a cooler to make it fresh and ready for your next big adventure.
Not only will you learn the best practices to keep your cooler in tip-top shape, but you’ll also discover how doing so can extend its life, save your hard-earned money, and, most importantly, keep your food and beverages safe and enjoyable. So, let’s dive in and get that cooler sparkling clean!
How to Clean a Cooler Quick Guide
This quick guide will provide a straightforward approach to cleanliness, ensuring your cooler remains in the best shape for future adventures! A clean cooler not only keeps your food and beverages in optimal condition, but it also prolongs the life of the cooler itself – truly a win-win.
The Benefits of a Clean Cooler
Cleaning your cooler not only keeps it looking great, but also promotes healthier storage conditions for your food and beverages.
A clean cooler is less likely to harbor bacteria, ensuring your snacks stay fresh and safe for consumption. Plus, regular cleaning can extend the lifespan of your cooler, saving you money in the long run.
As an added bonus, it eliminates any unpleasant odors, making your outdoor adventures even more enjoyable.
How to Clean a Cooler In-Depth Guide
Step 1: Empty the Cooler
First things first, you need to empty your cooler. Begin by carefully removing all items you’ve stored inside it. If you find any water, ice, or food remnants, make sure to drain or discard them properly.
Remember, cleanliness starts with a completely empty cooler. This initial step might seem basic, but it’s crucial for a thorough cleaning process.
After you’ve emptied your cooler, you’re ready to move on to step two. So, let’s get that cooler cleared out and ready for a deep clean!
Step 2: Drain the Cooler

Now that your cooler is empty, it’s time to tackle any residual moisture. If there’s any water or melted ice left at the bottom, be sure to drain it out. You might find a drain plug on some cooler models, making this step a breeze. For others, you may need to tilt the cooler to guide the water out.
Be careful not to spill any remaining contents, and remember to do this in a suitable location where the water can safely drain away.
Draining your cooler is a vital part of the process, as any standing water left inside could potentially harbor bacteria or cause unpleasant odors. Once your cooler is completely drained, you’re all set for the next step: the deep clean!
How to Drain Popular Coolers
Let’s look at how to drain some of the most popular cooler brands out there. These include Yeti, Coleman, and Igloo. Here are some tips:
- Yeti Tundra Cooler: The drain plug is located on the bottom side of the cooler. To drain, unscrew the drain plug and allow the water to flow. A good tip is to tilt the cooler to ensure complete draining slightly. Remember to securely re-tighten the plug once done to avoid leaks during future use. Yeti coolers, renowned for their robustness, are popular among outdoor enthusiasts. Ensuring its cleanliness and longevity requires a bit more than a simple rinse. But fear not; we’ve got you covered! Read How to Clean a Yeti Cooler Like a Pro for a comprehensive guide!
- Coleman Xtreme Cooler: This cooler features a leak-resistant drain located at the cooler’s base. There’s no need to tilt the cooler, and you won’t lose the plug as it’s tethered to the cooler. Turn the plug counterclockwise to open, allow the cooler to drain, and then securely close by turning the plug clockwise.
- Igloo Marine Ultra Cooler: This cooler comes with a threaded drain plug. The plug is located at the corner of the cooler. To drain, unscrew the plug and let the water out; you may wish to tilt the cooler slightly to ensure all the water is drained. Ensure that the plug is screwed back in tightly after draining.
Remember, always drain your cooler away from any body of water to respect the outdoor spaces we love.
Step 3: Wash the Cooler
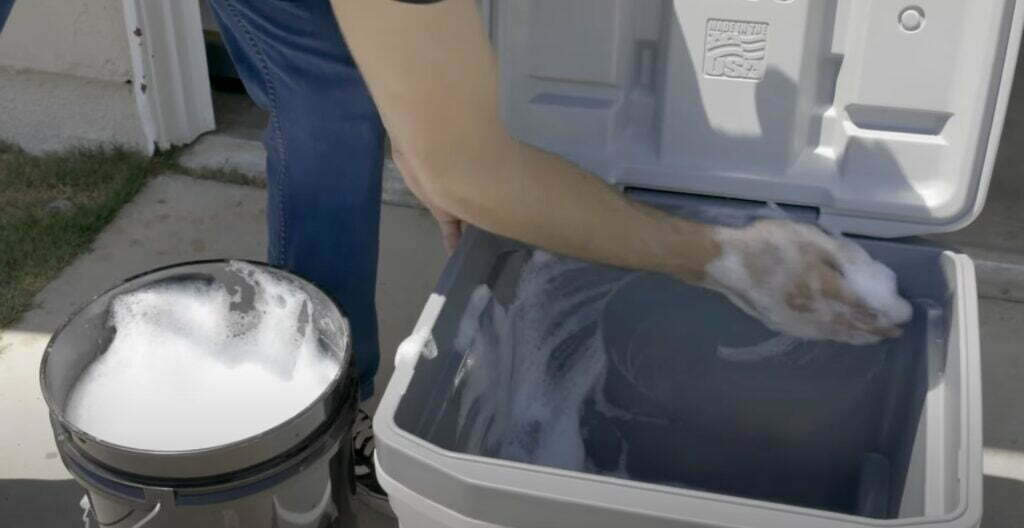
It’s time to get soapy! Mix a solution of warm water and mild dish soap – this gentle yet effective mixture will help tackle any grime, stains, or sticky spots clinging to your cooler.
Grab a sponge or a soft cloth and get to work! Make sure to scrub both the inside and outside of the cooler thoroughly. Pay special attention to corners and crevices, where dirt and bacteria love to hide.

A proper scrub not only helps to remove visible dirt but also helps eliminate any possible odors. Remember, a clean cooler is a cooler working at its best. So, don’t shy away from giving it a good scrub!
Here are some effective cleaning products you can use to wash your cooler:
- Mild Dish Soap: This is a common household item that can effectively clean your cooler. It’s gentle on the cooler’s material but tough on grime and food residues. Just a few drops mixed with warm water can create a soapy solution perfect for scrubbing away dirt.
- Baking Soda: Known for its deodorizing properties, baking soda can help eliminate unpleasant smells in your cooler. Mix it with a little water to form a paste, and apply it to stained or smelly areas.
- Vinegar: An excellent natural cleaner, vinegar can cut through tough stains and neutralize odors. Mix equal parts of vinegar and water for a potent cleaning solution.
- Bleach: A diluted bleach solution can be used for disinfecting the cooler. It’s powerful against bacteria and mold. However, be careful, as it can discolor your cooler if not thoroughly rinsed off.
- Magic Eraser: These are especially handy for stubborn stains. Wet the sponge, squeeze out excess water, and scrub the problem area. They’re magical for a reason and often remove stains that other cleaners can’t.
- Microfiber Cloth: Ideal for scrubbing without scratching the cooler’s surface. It’s excellent for use with any of the above cleaners.
Remember, regardless of the cleaning product you use, always rinse your cooler thoroughly after washing to ensure no residue is left behind.
Step 4: Rinse the Cooler
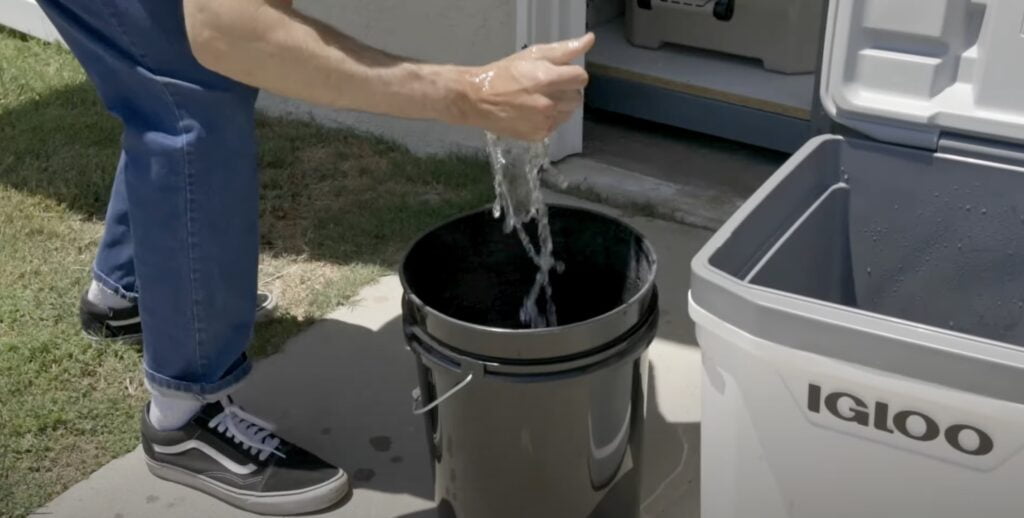
Now, this is a step where you can’t cut corners! Once you’ve given your cooler a thorough washing, it’s time to rinse it out. Use a hose or a bucket full of clean water to rinse the cooler thoroughly, making sure there are no suds left.
This step is crucial as any leftover soap can leave a residue or unpleasant taste on your food and beverages.
Remember, patience is key here – keep rinsing until you’re absolutely sure all the soap is gone.
- Pre-Rinse Inspection: Before beginning the rinsing process, visually inspect your cooler for any soapy areas or spots that may have been missed during washing. This initial check should only take a couple of minutes.
- First Rinse: Fill your cooler with clean water and swish it to cover all areas, especially corners and crevices. Pour out the water and inspect for soap suds. This should take approximately 5-10 minutes.
Remember, the key to effective rinsing is patience and thoroughness. Make sure to take the time to do this step correctly.
Step 5: Disinfect the Cooler

Now, we’re moving on to the disinfecting phase. This is the key to making your cooler not just look clean but be clean by removing any invisible bacteria or germs. To do this, combine 1 part bleach with 8 parts water to create a disinfecting solution.
Wear gloves for this part, as bleach can be harsh on the skin. Thoroughly wipe the interior of your cooler using a cloth or sponge soaked in your homemade disinfectant.
Allow the solution to sit and work its magic for a few minutes. Remember, during this waiting period, the bleach is actively killing off germs to ensure your cooler is a safe storage space for your food and drinks on your next adventure.
Detailed Disinfecting Process
Here’s a step-by-step list to guide you through the disinfecting process of your cooler:
- Prepare Your Disinfecting Solution: Mix 1 part bleach with 8 parts water. This powerful disinfectant will work hard to kill bacteria and germs. Remember to wear gloves when handling bleach as it can irritate the skin.
- Clean the Interior: Using a cloth or sponge, apply your bleach solution to the interior surface of the cooler. Be sure to reach into all corners and crevices, where bacteria can hide from sight.
- Let it Sit: Once all interior surfaces have been wiped down, let the solution sit for about 10 minutes. This gives the bleach enough time to kill any bacteria or germs effectively.
- Clean the Exterior: While the interior solution is doing its work, apply the bleach solution to the exterior of the cooler. Pay special attention to handles and latches, as these are high-touch areas.
- Rinse Thoroughly: After the 10-minute period, rinse the cooler thoroughly with clean water. This step is important to remove all bleach solution residue, which can harm your food and drinks if not completely removed.
Premade Disinfectants for Coolers
While homemade solutions can be effective, there are also various commercial products specifically designed to disinfect coolers. These convenient products often have added benefits like mildew resistance or odor elimination. Here are a few you might consider:
- Clorox Disinfecting Wipes: Convenient, portable, and no need to rinse. These wipes are effective in killing bacteria, viruses, and mold.
- Lysol Disinfectant Spray: This spray kills 99.9% of bacteria and viruses. It’s easy to use and works on both hard and soft surfaces.
- Star Brite Mildew & Odor Control Bags: These bags release a slow vapor penetrating into every cooler area, eliminating odors and preventing mold and mildew.
Step 6: Rinse Again & Dry

The second rinse is just as crucial as the first. You want to make sure all of that bleach is thoroughly rinsed away. So, fill your bucket with clean water, or grab that hose once more and rinse the cooler thoroughly.
Once you’re convinced every last trace of your disinfecting solution has been flushed away, it’s time to dry. Use a clean, dry towel to pat down and absorb any remaining moisture inside and outside the cooler.
For a thorough dry, leave the lid open and allow your cooler to air dry. This makes sure that any hidden moisture gets a chance to evaporate completely, preventing mold and mildew growth.
- Second Rinse: Repeat the swishing and pouring process. Rotate the cooler in different directions to ensure the water reaches all parts. This second rinse should also last around 5-10 minutes.
- Final Rinse: For the final rinse, use a hose or a bucket of clean water and pour it over all cooler areas, both inside and out. This thorough rinse should take about 10-15 minutes.
- Post-Rinse Inspection: After the final rinse, inspect your cooler again. If you still see any suds or feel a soapy residue, repeat the rinsing process until all the soap is completely gone. This final step can take a few extra minutes but is critical to ensure a clean and residue-free cooler.
- Dry the Cooler: Once satisfied that all soap residue is gone, leave the cooler open to air dry. Depending on the weather and humidity levels, this could take a few hours or even a day. Be patient – it’s worth the wait!
Common Questions About How to Clean a Cooler
What is the best thing to clean a cooler with?
The best thing to clean a cooler with depends on the level of cleaning it requires. For a simple rinse, warm water should suffice.
For a more thorough cleaning, dish soap or mild detergent and warm water can effectively remove dirt and grime.
To disinfect and sanitize your cooler, one part bleach to eight parts water is highly recommended.
Always rinse the cooler thoroughly after cleaning to ensure no soap or bleach residue remains. For convenience, you can also opt for commercial cleaning products like Clorox Disinfecting Wipes or Lysol Disinfectant Spray, designed to kill bacteria and fungi while leaving your cooler smelling fresh.
Ensure to follow the product’s instructions to achieve the best results.
What kills mold in a cooler?
To effectively kill mold in a cooler, you can use a mixture of one-part bleach to and eight-part water. This powerful solution will not only eliminate mold but also any bacteria or germs that may be present.
It’s important to thoroughly rinse the cooler after using bleach to remove any residue that may harm your food and drinks.
Alternatively, you can also use commercial products such as Star Brite Mildew & Odor Control Bags, which release a slow vapor that penetrates all areas of the cooler to prevent and eliminate mold growth.
Regularly cleaning and drying your cooler after each use can also help prevent mold from forming in the first place.
So always follow proper cleaning and storage methods for your cooler to keep it clean and mold-free.
Overall, the key to killing mold in a cooler is using effective cleaning products and thoroughly rinsing and drying the cooler afterward to prevent any leftover moisture that may lead to future mold growth.
How often should you clean your cooler?
The frequency of cleaning your cooler depends on how often you use it and what you store inside. If you use your cooler frequently for food and drinks, it’s recommended to clean it after each use.
This will help prevent bacteria, mold, and other germs from building up. If you primarily use your cooler for non-perishable items or only occasionally for food and drinks, it’s still important to give it a thorough cleaning at least once every few weeks or whenever it starts to look dirty or smell musty.
Additionally, if you notice mold or mildew forming in your cooler, it’s important to clean it immediately and regularly inspect it for any signs of future growth.
By regularly cleaning your cooler, you can ensure that it stays fresh and safe for all your food and beverage storage needs. Overall, the more often you use your cooler, the more frequently it should be cleaned to maintain proper hygiene and prevent potential health hazards.
So, incorporate regular cleaning into your cooler maintenance routine for optimal performance and longevity.
How do you sterilize a cooler?
To sterilize a cooler, you will need to clean it first thoroughly. This involves rinsing and scrubbing the cooler with warm water and soap or mild detergent.
Next, mix together one part bleach to eight parts water in a bucket or spray bottle. Use this solution to wipe down all areas of the cooler, both inside and out.
Consider any corners or crevices where bacteria and germs may hide. After applying the bleach solution, let it sit for 5-10 minutes before thoroughly rinsing it with clean water.
Make sure there is no leftover residue from the bleach solution by doing a final rinse with fresh water. Finally, leave the cooler open to air dry completely before storing it away.
Final Thoughts on How to clean a cooler
A clean cooler is the key to safe, refreshing, and enjoyable outdoor gatherings. It’s crucial to remember to clean, rinse, and dry your cooler properly—whether it’s after a picnic, a tailgate party, or a long road trip.
Using the right cleaning agents, such as bleach and water solution, can effectively eliminate bacteria, germs, and mold. Regular cleaning is essential, and remember, the frequency should align with your usage.
Don’t forget to sterilize your cooler when needed, paying particular attention to corners and crevices.
Try incorporating these techniques into your routine, and you’ll find maintaining a cooler easier than you thought! Here’s to fresh and safe food and beverages on your next adventure!
Remember, a clean cooler is a happy cooler!