
Knowing how to clean a striped bass is an essential skill for any angler or seafood lover. Cleaning a striped bass not only ensures that you have a fresh and delicious fish to cook, but it also helps maintain the health and quality of the fish.
However, cleaning a striped bass can be a daunting task if you don’t have the right tools and techniques. In this article, we will provide you with a comprehensive guide on how to clean a striped bass, from understanding its anatomy to filleting the fish and storing it properly.
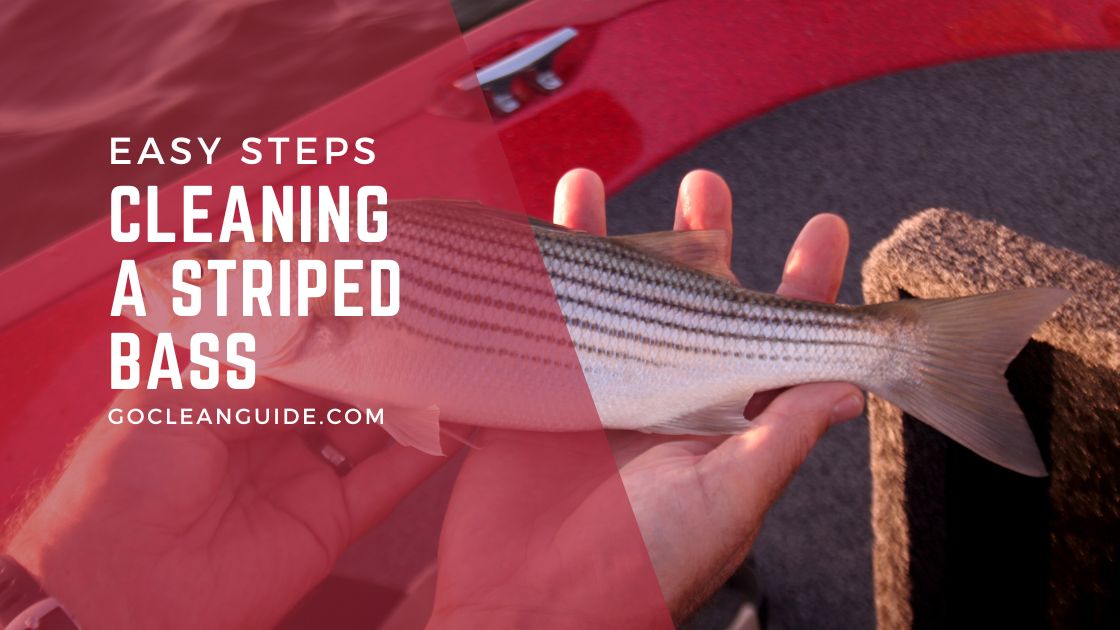
Understanding the Anatomy of a Striped Bass: Preparing for Cleaning
Before you start cleaning a striped bass, it’s important to have a good understanding of its anatomy. This will help you identify the different parts of the fish and know where to make the necessary cuts.
The main parts of a striped bass include the head, gills, scales, fins, belly, and tail. By familiarizing yourself with these parts, you will be able to clean the fish more efficiently and minimize waste.
Essential Tools for Cleaning a Striped Bass: What You Need in Your Kit
To clean a striped bass effectively, you will need a few essential tools. These tools will help you remove scales, gut the fish, fillet it, and trim the fillets.
Some of the essential tools include a sharp fillet knife, scaling tool or spoon, cutting board, pliers or fish gripper, and a clean towel or paper towels. Each tool serves a specific purpose in the cleaning process and having them in your kit will make the task much easier.
Steps to Follow for Safe and Efficient Cleaning of a Striped Bass
Now that you have your tools ready and understand the anatomy of a striped bass, let’s dive into the step-by-step process of cleaning the fish. It’s important to follow these steps carefully to ensure safe and efficient cleaning.
- First, rinse the fish with cold water to remove any dirt or debris.
- Then, use a scaling tool or spoon to remove the scales by scraping from tail to head.
- Next, make an incision along the belly of the fish from the anus to the gills.
- Use your fingers or a spoon to remove the innards, being careful not to puncture any organs.
- Rinse the cavity with cold water to clean it thoroughly.
- Finally, remove the head and tail of the fish using a sharp knife.
Removing the Scales: Techniques for a Smooth and Easy Process
Removing scales from a striped bass can be a messy and time-consuming process if you don’t know the right techniques. There are several techniques you can use to make this process easier and more efficient.
One common technique is using a scaling tool or spoon to scrape off the scales from tail to head. Another technique is using a knife to make shallow cuts along the body of the fish and then using your fingers or a spoon to peel off the scales. Whichever technique you choose, it’s important to be gentle and avoid damaging the skin of the fish.
Gutting the Fish: Tips for Properly Removing the Innards
Gutting a striped bass is an important step in the cleaning process as it removes the innards and ensures that you have a clean and fresh fish to cook. To gut a striped bass, start by making an incision along the belly of the fish from the anus to the gills. Use your fingers or a spoon to carefully remove the innards, being cautious not to puncture any organs. Rinse the cavity with cold water to clean it thoroughly. It’s important to take your time during this step and be gentle to avoid damaging the fish.
Removing the Head and Tail: How to Do it Like a Pro
Removing the head and tail of a striped bass is an important step in the cleaning process as it helps achieve a clean finish. To remove the head, make a diagonal cut behind the gills and then cut straight down towards the belly. Use a sharp knife to make clean cuts and avoid leaving any jagged edges.
To remove the tail, make a horizontal cut just above the tail fin. Again, use a sharp knife and make clean cuts to achieve a neat finish.
Filleting the Fish: Step-by-Step Guide to Achieving Perfect Fillets
Filleting a striped bass is a skill that takes practice, but with the right technique, you can achieve perfect fillets.
To fillet a striped bass, start by making an incision behind the gills and cut along the backbone towards the tail. Use your fingers or a spoon to separate the flesh from the bones as you go along.
Once you reach the tail, flip the fish over and repeat the process on the other side. It’s important to use a sharp fillet knife and make clean cuts to ensure that you get nice, even fillets.
Trimming the Fillets: Removing Bones and Skin for a Clean Finish
After filleting the fish, you will need to trim the fillets to remove any bones and skin for a clean finish.
To do this, lay the fillet skin-side down on a cutting board and run your fingers along the flesh to feel for any bones. Use tweezers or pliers to carefully remove any bones that you find.
Next, use a sharp knife to remove the skin from the fillet by making a small incision at one end and then sliding the knife along the length of the fillet, keeping it as close to the skin as possible. Repeat this process for each fillet.
Tips for Proper Storage and Preservation of Striped Bass
Proper storage and preservation of striped bass are crucial for maintaining its freshness and quality. After cleaning the fish, rinse it with cold water and pat it dry with a clean towel or paper towels.
Store the fish in an airtight container or wrap it tightly in plastic wrap to prevent air from getting in. Place the container or wrapped fish in the refrigerator and consume it within 2-3 days for optimal freshness.
If you want to store the fish for a longer period, you can freeze it. Wrap each fillet individually in plastic wrap and then place them in a freezer bag. Label the bag with the date and use within 3-4 months.
Delicious Recipes for Cooking and Serving Your Freshly Cleaned Striped Bass
Now that you have a freshly cleaned striped bass, it’s time to cook and serve it in delicious ways.
There are numerous recipes you can try, depending on your personal preferences. Some popular recipes include grilled striped bass with lemon and herbs, baked striped bass with garlic and butter, and pan-seared striped bass with a citrus glaze.
You can also try making fish tacos, ceviche, or chowder using the fresh fillets. The key is to choose a recipe that complements the delicate flavor of the striped bass and allows it to shine.
Knowing how to clean a striped bass is an important skill for any angler or seafood lover.
By understanding the anatomy of the fish, having the right tools, and following the proper techniques, you can clean a striped bass safely and efficiently.
Removing scales, gutting the fish, removing the head and tail, filleting the fish, and trimming the fillets are all essential steps in the cleaning process.
Proper storage and preservation of striped bass are also crucial for maintaining its freshness and quality. So next time you catch a striped bass, don’t hesitate to try out these tips and techniques for a delicious seafood meal.
FAQs
What is a striped bass?
Striped bass is a popular game fish found in the Atlantic Ocean and its tributaries. It is known for its distinctive stripes on its sides and can grow up to 6 feet in length.
Why is it important to clean a striped bass?
Cleaning a striped bass is important to remove any dirt, bacteria, or parasites that may be present on the fish. It also helps to preserve the quality and taste of the fish.
What tools do I need to clean a striped bass?
You will need a sharp fillet knife, a cutting board, a pair of pliers, and a bowl of water to clean the fish.
What is the best way to clean a striped bass?
The best way to clean a striped bass is to first remove the scales using a scaler or the back of a knife. Then, make a cut behind the gills and down to the backbone. Use the fillet knife to cut along the backbone and remove the fillet. Repeat on the other side. Use the pliers to remove any remaining bones.
How should I store a cleaned striped bass?
A cleaned striped bass should be stored in the refrigerator or on ice until ready to cook. It is best to cook the fish within 1-2 days of cleaning for optimal freshness.