
Maintaining a clean and hygienic home not only requires diligent cleaning of visible surfaces but also extends to less conspicuous tools such as the humble plunger. Often overlooked, a well-maintained plunger is vital to a sanitary home. This article, “Essential Techniques on How to Clean Plunger for Hygienic Use”, provides comprehensive and easy-to-follow steps that will help you ensure your plunger is as clean as the rest of your home.
Not only will this contribute to a healthier environment, but it will also extend the lifespan of your plunger, saving you money in the long run. So, let’s dive in and learn how to keep this essential tool in tip-top shape!
How to Clean Plunger Quick Guide
Learn how to clean plunger by following these three simple yet effective techniques. For more details on how to perform each one, continue below.
- Sanitize Your Plunger in the Toilet Using Bleach
- Use White Vinegar or Rubbing Alcohol for Cleaning Your Plunger
- Applying Disinfectant Spray to Your Plunger
How to Clean Plunger: Techniques
The dreaded time has come to clean your plunger but with these powerful techniques, you have nothing to worry about! Read carefully and master how to clean plunger in no time.
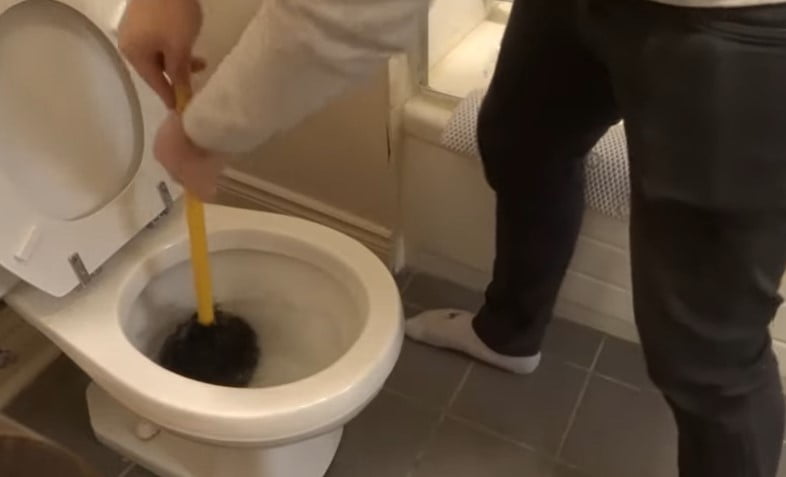
Sanitize Your Plunger in the Toilet Using Bleach
Bleach is the most effective and reliable option for quickly disinfecting your plunger. After clearing a clog, the last thing you want is to remove the plunger from the toilet and have it drip across the bathroom.
However, there is a proper time and place for everything. For a used plunger, that time is immediately after unclogging, and that place is inside the toilet bowl. Here’s a step-by-step guide on how to do it while the plunger is still in the toilet:
- Position the plunger at the bottom of the toilet to block the flow.
- Flush the toilet to fill it with some water.
- Add ⅓ cup of bleach.
- Swirl the plunger around in the toilet.
- Prepare a mixture of one teaspoon of bleach with a cup of water.
- Lift the plunger and pour the water-bleach mixture into the plunging end.
- Place the plunger back into the toilet water and swish it around.
- Allow the plunger to sit for five minutes to soak off any particles.
- Remove the plunger from the toilet drain.
- Flush the toilet several times to thoroughly rinse off the plunger.
While cleaning the plunger, take the opportunity to give your toilet a thorough scrub since you already have the cleaner inside.
Use White Vinegar or Rubbing Alcohol for Cleaning Your Plunger
To maintain cleanliness, it’s important to follow the “keep it in the toilet until it’s clean” rule even when using rubbing alcohol or white vinegar. Here’s a step-by-step guide:
- After clearing the clog, place the plunger over the bottom of the toilet to block water flow and fill the toilet with water.
- Lift the plunger and pour white vinegar or rubbing alcohol into the bottom of the toilet.
- Insert the plunger into the toilet and pour enough rubbing alcohol or white vinegar to cover it.
- Swirl the mixture in the toilet.
- Allow it to sit for five minutes to effectively remove any germy particles.
- Flush the toilet to rinse out the white vinegar or rubbing alcohol.
- Position the plunger over the toilet drain and flush again.
- Rinse the plunger in clean water.
- Flush the toilet once more.
Following these steps will help ensure a clean and hygienic toilet.
Applying Disinfectant Spray to Your Plunger
Do you have any disinfectant spray or spray toilet bowl cleaner available? Both options work effectively for cleaning your plunger.
Here’s a step-by-step guide to clean your plunger:
- Place the plunger handle under the toilet seat to secure it over the bowl.
- Thoroughly spray the inside and outside of the plunger.
- Allow it to sit for a few minutes.
- Swirl it around in a clean, flushed toilet.
- Position it over the toilet drain and flush again.
- Give it a few more swishes in the water.
Following these steps will help ensure a clean and hygienic plunger.
Common Questions About How to Clean Pumice Stone
It’s time to answer some common questions about cleaning your plunger.
Should you clean the plunger handle as well?
The base of your plunger is where most of the unpleasantness accumulates. However, water tends to splash a bit, so it’s crucial to consider the handle as well. To effectively clean it, simply give it a wipe down using rubbing alcohol, a sanitizing wipe, or hydrogen peroxide. It’s as simple as that!
How to clean the plunger holder?
Regardless of where you choose to store your plunger, it is important to always keep it in a dedicated plunger holder. By doing so, any germs that may have slipped through will be contained within the holder itself. However, it is equally important to regularly clean the plunger holder. To do this effectively, follow these steps:
- Start by rinsing off the plunger holder in your bathtub or sink.
- Apply a small amount of dish soap to a scrubber and diligently scrub away any grime or dirt.
- Rinse the holder thoroughly to remove all traces of soap.
- Next, spray the entire holder with straight hydrogen peroxide, ensuring complete coverage.
- Allow the hydrogen peroxide to sit and work its magic for 5-10 minutes.
- Finally, dry off the plunger holder using a microfiber cloth.
- Once the holder is clean, proceed to clean your sink or bathtub as planned.
How can you effectively dry your plunger?
After successfully learning how to clean plunger, you are left with a pristine new plunger, but you definitely wouldn’t want to place it in the holder with toilet water, would you? It’s time to let it dry, and you have a few options for doing so:
- Allow it to air dry over the toilet seat, ensuring the plunging part hangs over the toilet water.
- Place it in a plastic bag and let it dry.
- Gently dry it by hand using a clean microfiber cloth.
How to clean plunger without cleaning supplies?
Accidents can occur at the most inconvenient times, like when you need to unclog your toilet and realize you’re out of cleaning supplies for your plunger. But don’t worry, there’s still a cleaning option available. You can use boiling water to effectively kill any bacteria on the toilet plunger. Here’s how you can do it:
- Boil a pot of water.
- Use a pot holder to safely pour some boiling water into a cup or smaller container.
- Carefully place the toilet plunger into the toilet and pour the boiling water onto it, making sure to cover all surfaces, including the cup.
- Once the plunger is thoroughly covered with boiling water, flush it in clean toilet water.
- Tap the plunger to dry and return it to storage.
While boiling water can be an effective way to eliminate germs, it should only be used to clean your toilet plunger as a last resort when more advanced disinfection methods are unavailable.
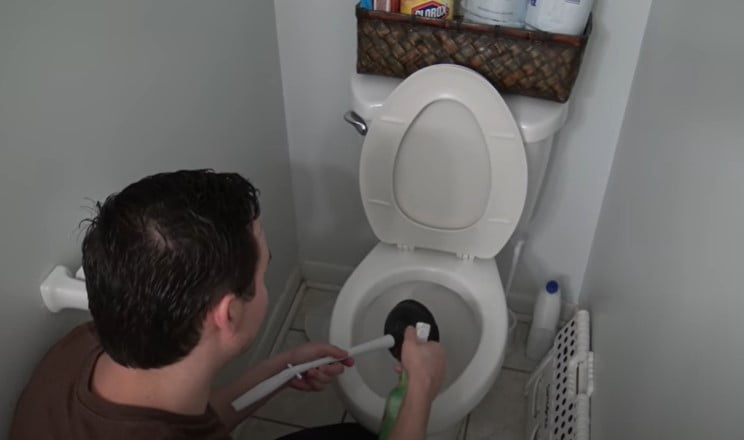
Video How To Clean A Toilet Plunger
If you wish to see how it all goes down, check out this short video for a demonstration of how to clean plunger.
Final Thoughts
Keeping your plunger clean is vital to maintain a hygienic bathroom environment. The techniques outlined above, from simple cleaning with bleach, white vinegar, or rubbing alcohol, to using disinfectant spray, ensure your plunger is free from germs and grime. Regular cleaning of both the plunger and the holder not only promotes cleanliness but also extends their lifespan. Even in the absence of cleaning supplies, boiling water can be a viable alternative. Remember, a clean plunger is instrumental in keeping your toilet and bathroom clean.